Git 101: Part 2 – Using SourceTree
Quick Tip!
At the Digital Corps, SourceTree and Azure are used to track and store Git repositories for projects. Make sure to have SourceTree installed and your Azure DevOps account setup.
Helpful Staff for this Topic

SourceTree with Git
SourceTree is a desktop client that provides a graphical interface for repositories (as opposed to typing command lines in terminal). SourceTree simplifies the use of Git by providing visual displays of your local files, commit history, and branches.
This article will cover how to use SourceTree with Git, which is the preferred Git GUI at the Digital Corps. If you are not familiar with Git, please refer to the first article of this series.
Repositories
Creating a new repository
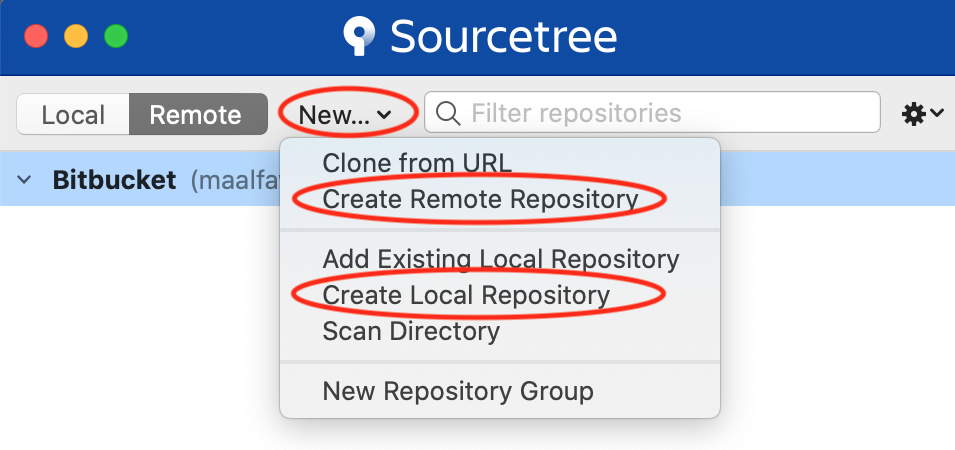
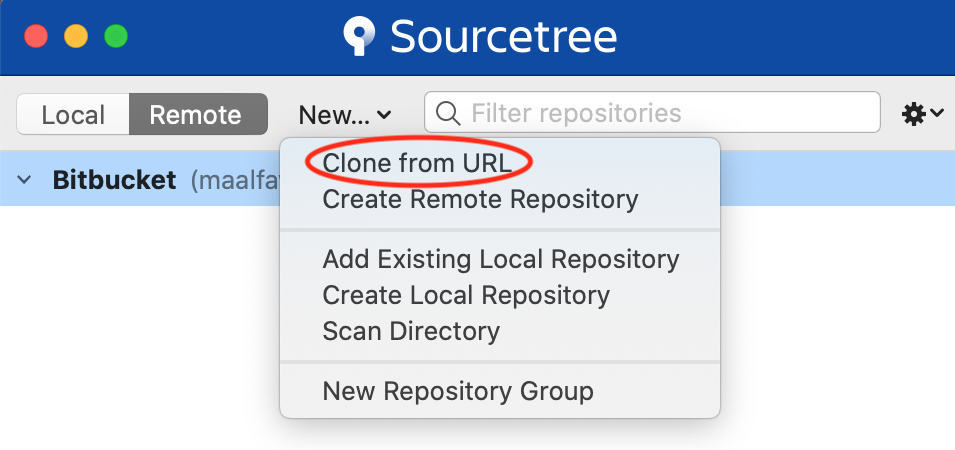
Once you’ve opened up the SourceTree application, look for a ‘New…’ button that will expand into a drop down menu. From here you can choose to create either a remote or local repository.
Once you’ve completed the required fields for the repository, it will appear in the corresponding Local/Remote tab on the top left corner.

Branches
Creating a new branch
Double click on your repository from the previous window to open a new window like the one below. Use this to easily create a new branch for your repo.
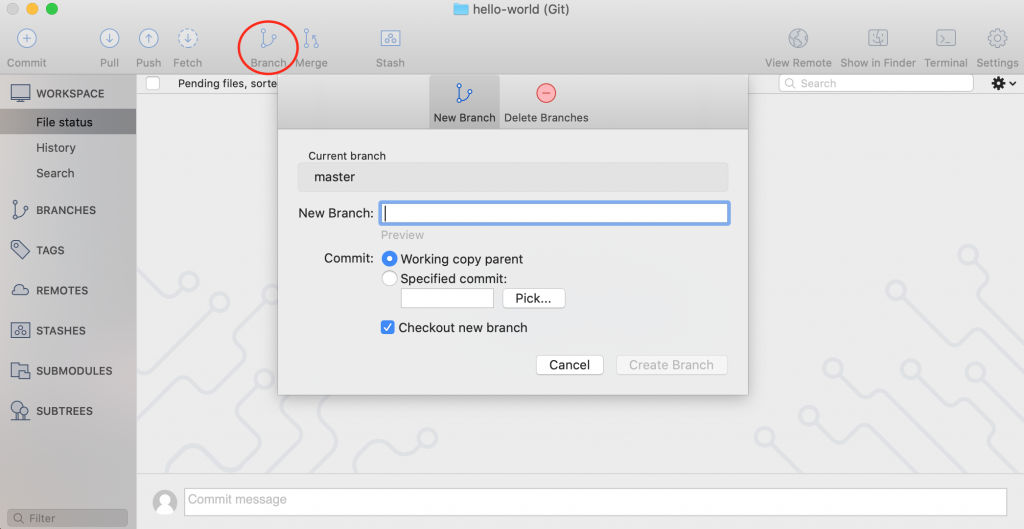
You may notice the option of copying the parent branch or specifying your commit. As implied, the first option creates a new branch (a copy of the parent) with the same files and commit history. The second option will copy the files from a specific commit of the parent branch, meaning you can create a branch from older versions of the project.
Checking out a branch
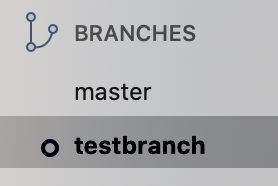
All branches can be found in the left bar of the repository’s window. To switch to one of the branches, simply double click on it. The current checked out branch is signified by a small circle icon to the left of the branch name.
Merging a branch
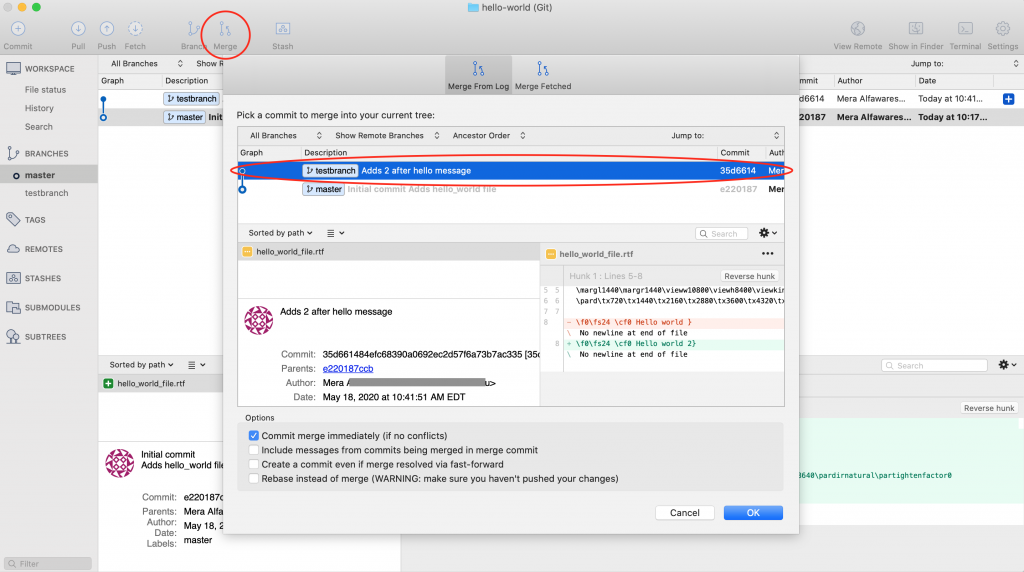
Using the Merge button, you can select a commit from other branches to merge with the current branch.
Git Flow at the Digital Corps
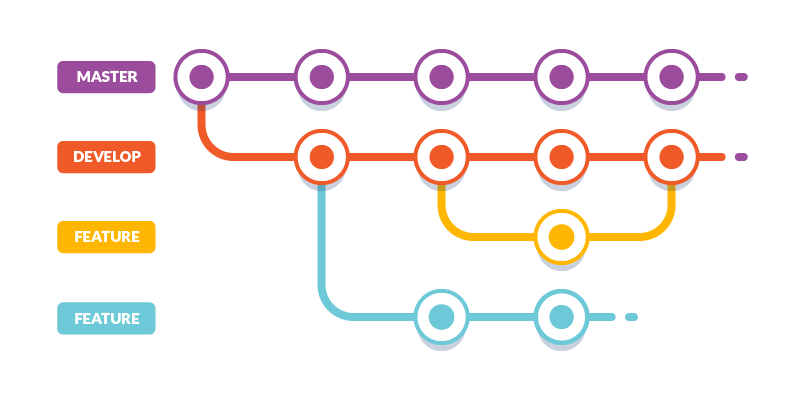
As described in the first article of the Git 101 series, a specific branching structure is followed for Digital Corps project repositories. A new branch is created for each feature of a project. All the feature branches share a parent development branch (typically called develop), to which they are merged back into once a feature is complete. This is clarified in the diagram below. Note that the develop branch is created from the master branch.
Merge conflicts
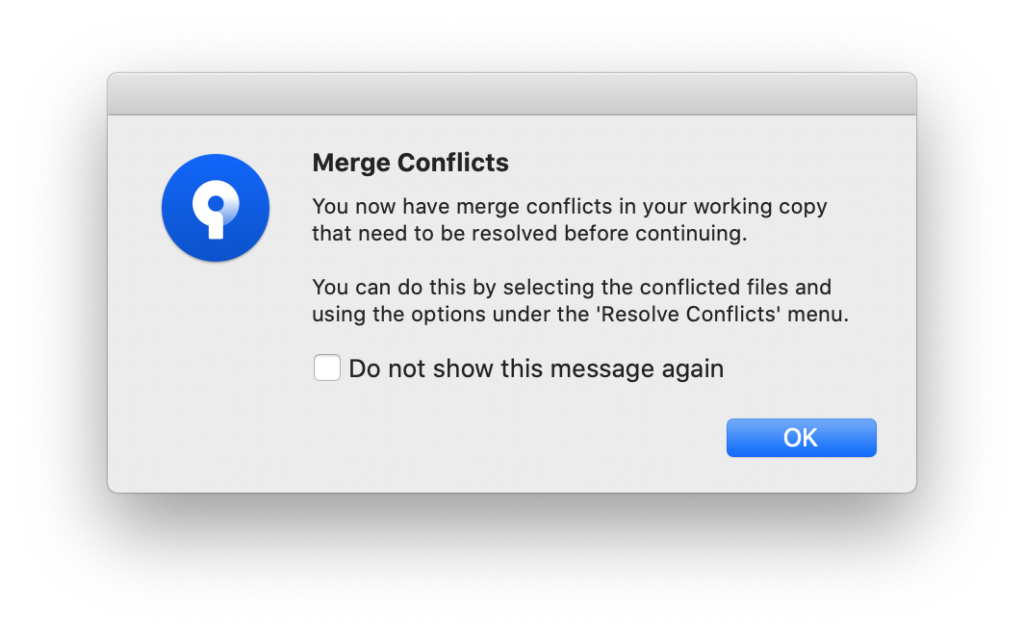
When attempting to merge conflicting branches in SourceTree, a message similar to the one below will pop up:
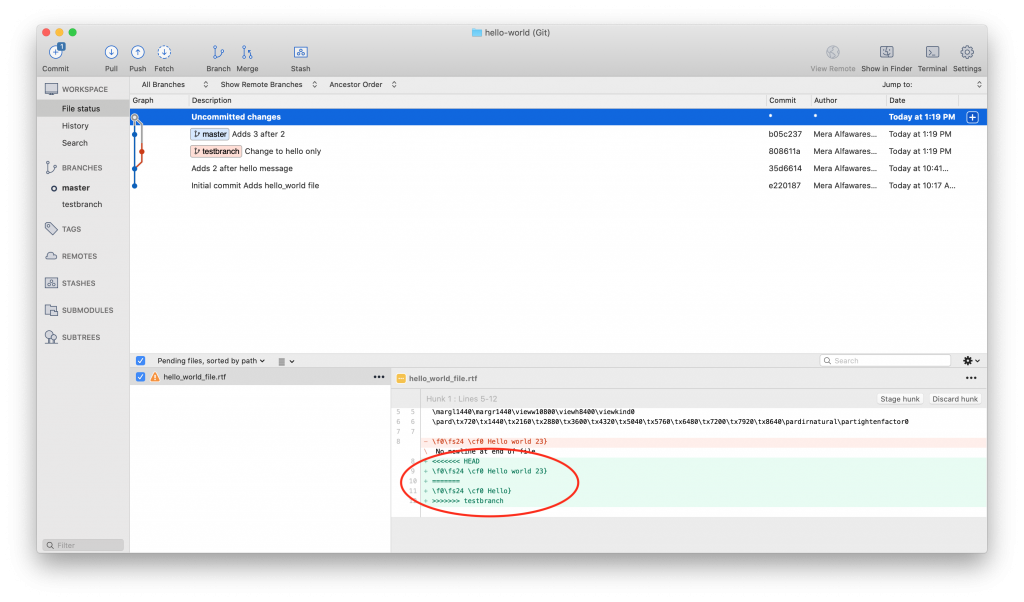
The conflicting changes are shown in the bottom right section of the window, with the conflict dividers included.
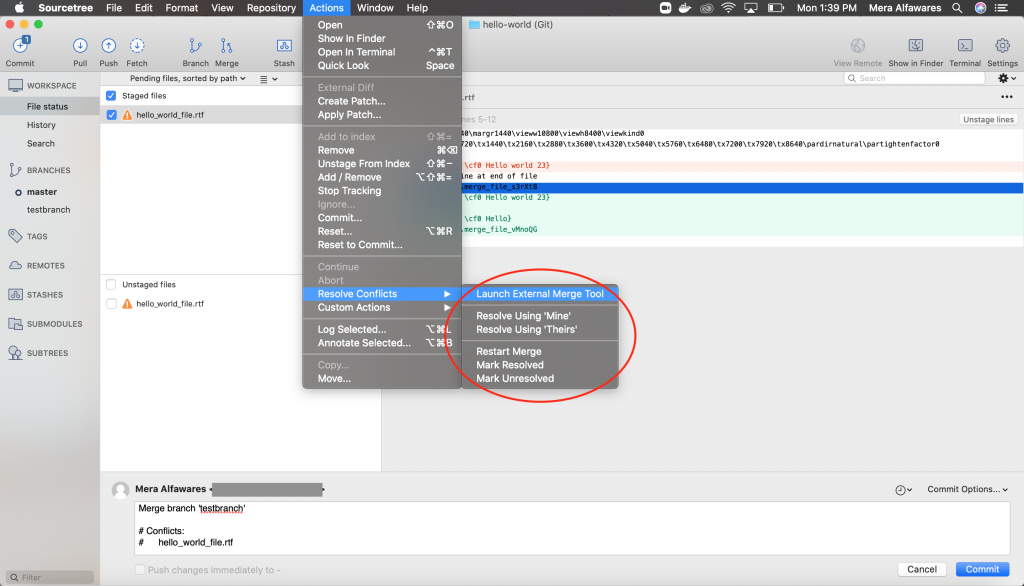
Options to resolve conflicts in SourceTree are available from the Actions option on the menu bar, under Resolve Conflicts. Launching an external editor will allow you to manually change the file. Alternatively, you could select to resolve using either ‘mine’ or ‘theirs’, which automatically keeps the content from whichever version of the file you chose.
Git Basic Commands
Clone
Using the same ‘New…’ button for creating a repo, you would select Clone from URL instead.
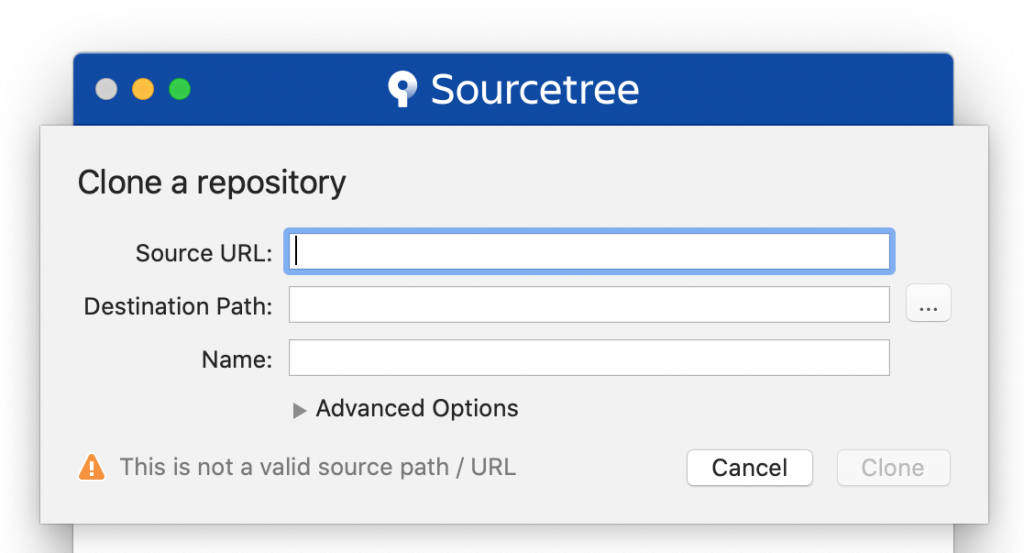
Fill out the fields listed below and click Clone. The repository is then cloned to your local machine.
Pull
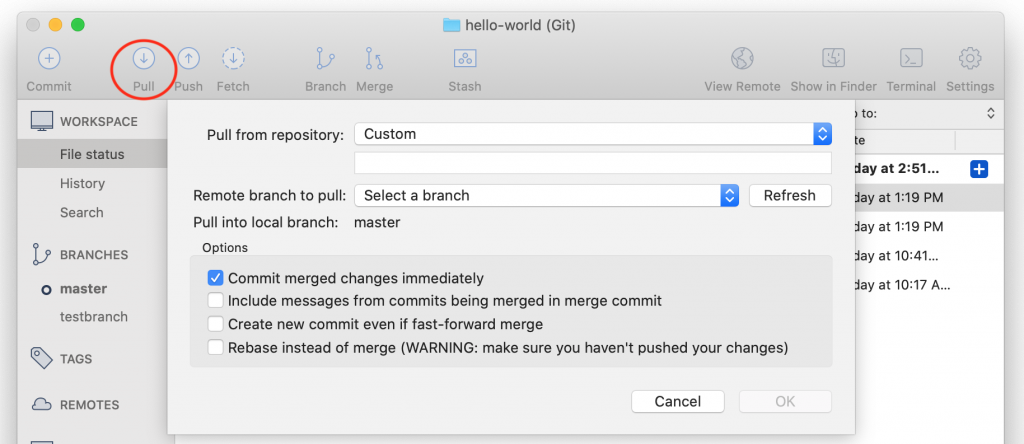
To update your files using SourceTree, use the Pull button in the toolbar. The window will prompt you for the remote repository URL, the specific branch to pull from, and the local branch to pull into.
Add and Commit
After you’ve edited a file, SourceTree automatically recognizes this modification and alerts you that the change has yet to be committed. This alert is displayed as a notification icon above the Commit button. Click on it to see a list of the unstaged files and the changes made.
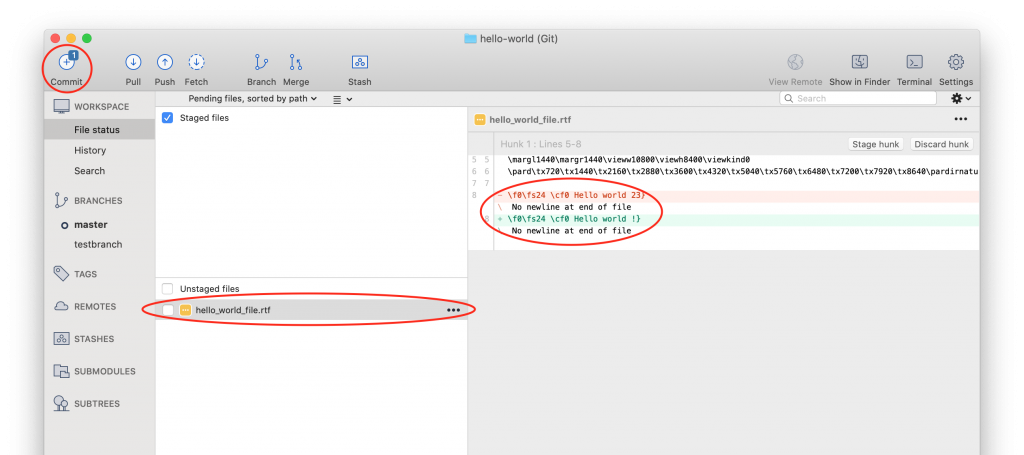
To add the file to the staging area, simply check the box to the left of the file name and it will automatically move to the staged files section. Add your commit message and click the button at the bottom right to finalize the commit.

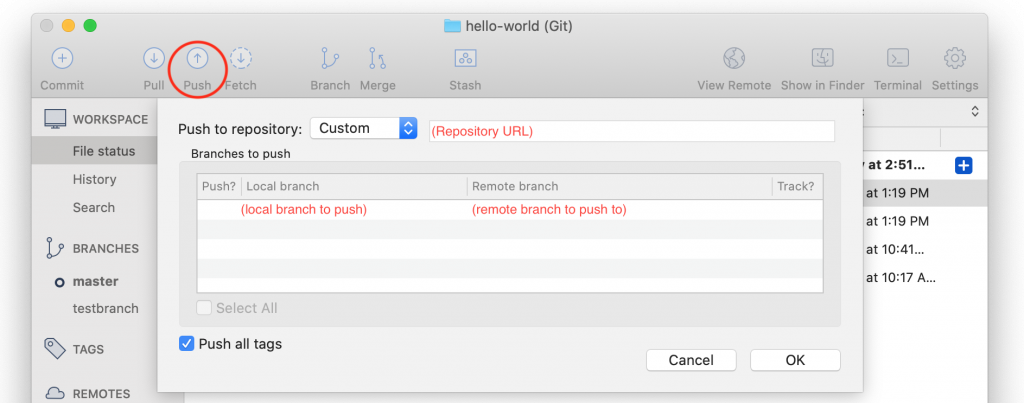
Push
When using a remote repository, you would use Push in the toolbar, select the local branch you wish to push, and the remote branch you want to push to.
You have now completed the two-part series reviewing Git basics in both terminal and SourceTree. To help consolidate this information, you should begin incorporating Git into your projects. Consistent practice will make it easier to discover and learn other commands and services provided by Git.
Additional Articles:
This article is part of a series:
-
1
Git 101: Part 1 - Using the Terminal

-
2
Git 101: Part 2 - Using SourceTree